
Choose A Helmet That Detects Your Arc Reliably
Match an auto darkening welding helmet to your process, shade requirements and TIG current. Learn what the controls change and when to stop welding.
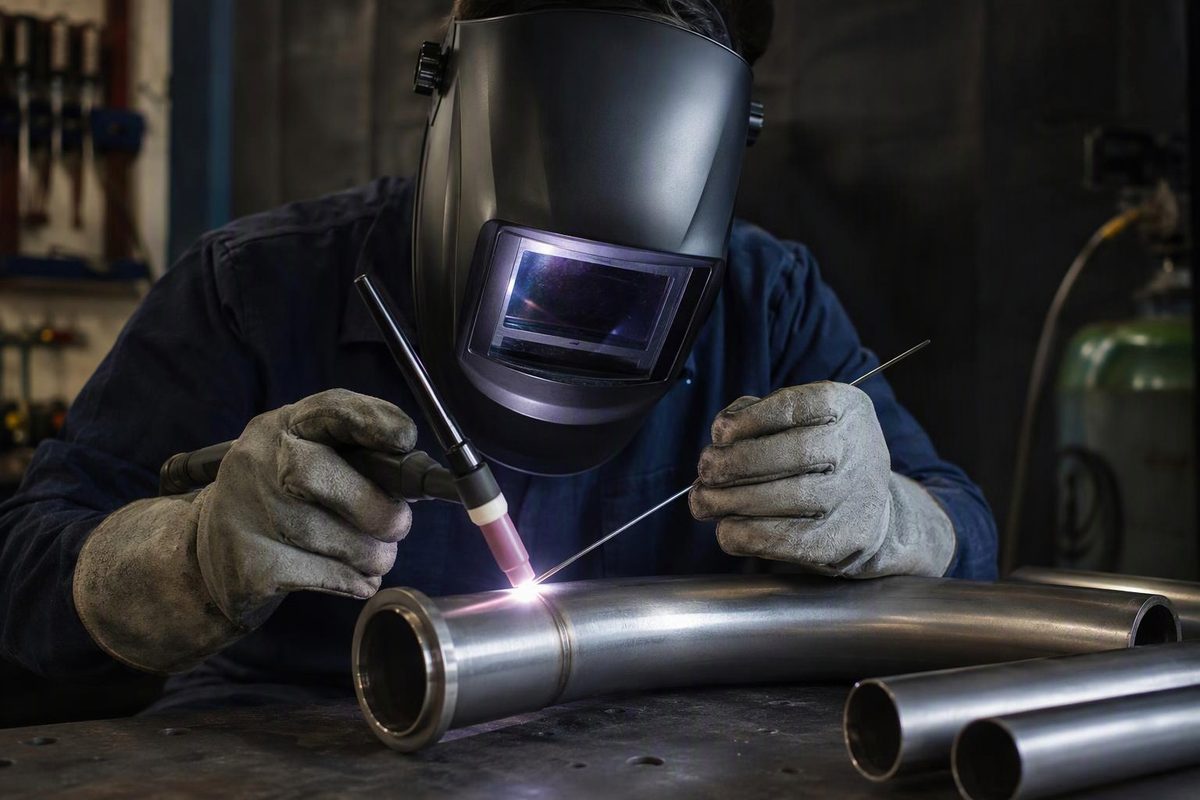
Choose an auto darkening welding helmet by its documented protection, required shade range, ability to detect your welding process and fit. Switching speed alone is not enough: the filter must reliably detect the arc in your working position. For low-current TIG, verify the exact model’s rating; for obstructed or out-of-position work, check sensor coverage before paying for a larger viewing window.
Select your process and current range to check one of the documented minimum-shade examples.
Minimum Shade Check
Only the three documented examples below are covered. This does not check arc detection or helmet compliance.
For MIG or flux-core at 60–160 A in OSHA’s U.S. general-industry table.
Start darker, then lighten for visibility without going below the applicable minimum. Follow helmet instructions and workplace requirements.
| Process | Conditions | Min. Shade |
|---|---|---|
| MIG / flux-core | 60–160 A | 10 |
| TIG | 50–150 A | 8 |
| Stick | 60–160 A; 3/32–5/32-inch electrode | 8 |
Source: OSHA 1910.133, U.S. general-industry minimum protective shade table.
Protection And Visible Darkening Are Separate Functions
An auto-darkening filter, or ADF, lets you position the electrode, torch or gun with the helmet down, then changes from a light viewing state to a dark welding state. In an optically triggered helmet, sensors detect light from the arc and trigger that change. Variable-shade models let you select the dark shade; fixed-shade models switch to one predetermined shade. Miller’s helmet-selection guide explains both types.
UV/IR filtration and visible darkening are separate functions. Lincoln’s manuals state that their filters provide ultraviolet and infrared protection in both light and dark states. That does not make a failed or damaged filter acceptable to weld through. A cracked ADF may compromise protection, and Miller instructs users to stop welding immediately if the lens does not darken when the arc starts. See the Lincoln Viking 3350 instructions and Miller Digital Elite operator’s manual.
Buy For Your Process And Working Position
Verify The Exact Helmet And Filter
Look for an identifiable manufacturer, model, manual and documented eye-and-face protection compliance—not just “professional” or “true color” advertising.
For U.S. general-industry workplaces, OSHA 1910.133 specifies accepted ANSI standards or protection the employer demonstrates is at least as effective. It separately requires an appropriate filter shade. A compliance claim does not replace selecting the right shade or inspecting the equipment.
Match The Shade Range And Low-Current TIG Rating
Check that the available dark shades cover every intended process. A cutting mode and a welding mode may offer different ranges; the light-state shade is not the welding shade.
For low-amperage TIG, look for a stated minimum-current rating and whether it covers AC, DC and pulsed operation. Do not assume a helmet that works well on MIG will reliably detect a low-current TIG arc.
Manufacturer ratings can distinguish those conditions: Lincoln’s 2012 Viking 3350 manual, linked above, lists different AC and DC minimums. Use the manual for the exact version you are buying, not that older model’s specifications.
Sensor Coverage Matters More Than Count Alone
More optical sensors provide additional coverage when an arm, torch or joint blocks one sensor. Miller recommends considering four sensors for fabrication and out-of-position work. They still need an effective view of the arc; extra sensors do not guarantee reliable triggering behind an obstruction.
Think about where the helmet will sit while you weld, not just how it performs facing an unobstructed arc. A sensor layout that works at a bench may be obstructed in the joint you need to reach.
Check Fit, Power And Replacement Parts
Try the helmet with your safety glasses and any other required PPE. Check that the headgear stays secure, the lens aligns with your eyes, and the shell suits the position and coverage you need. Read restrictions on applications such as overhead welding before buying.
Verify battery type, replacement access, low-battery indication and availability of the correct inner and outer cover lenses. “Solar-powered” does not necessarily mean battery-free: older Lincoln manuals illustrate both solar-only designs and solar-plus-replaceable-battery designs, such as the Viking manual linked above. Verify the power arrangement for the exact current model.
If you do not need variable shades or electronic controls, compare the trade-offs in our passive welding helmet guide.
Shade, Sensitivity And Delay Do Different Jobs
| Control | What It Changes | Practical Use |
|---|---|---|
| Shade | Darkness while welding | Match the process and current; never go below the required minimum. |
| Sensitivity | How readily sensors trigger | Follow the manual to detect weak arcs without false triggering from surrounding light. |
| Delay | Time spent dark after the arc stops | Lengthen for a bright, hot puddle; shorten when appropriate for repeated starts. |
| Grind mode | Holds the light state | Use only for its intended grinding application, with required impact protection. |
Delay is not the light-to-dark switching speed. Turning it up does not make the filter darken faster at arc initiation. These control functions are documented in Lincoln’s IM2044 and IM10055 instructions, linked above.
Sensitivity adjustments must preserve reliable arc detection. Reducing false triggering from surrounding light is not a successful adjustment if the helmet then misses your welding arc. Return from grind mode to welding mode before striking an arc.
Choose Shade From Process And Current, Not Thickness Alone
These examples come from OSHA’s U.S. general-industry shade table:
| Process | Current And Electrode | Minimum Shade |
|---|---|---|
| MIG or flux-core | 60–160 A | 10 |
| TIG | 50–150 A | 8 |
| Stick | 60–160 A; 3/32–5/32-inch electrode | 8 |
These are minimum protective shades, not universal comfort settings. OSHA advises starting too dark, then moving lighter until the weld zone is sufficiently visible without going below the minimum.
Use the applicable process chart, helmet instructions and workplace requirements. The examples above do not establish the shade for other current ranges, processes or electrode sizes. If the filter lacks the necessary shade, choose another filter or helmet.
Inspect And Test Before Welding
Before welding, inspect the shell, ADF, retainers and both cover lenses. Replace cracked, pitted or badly soiled covers, and do not use a damaged ADF. Clean sensors as directed, confirm the power supply, and select welding mode and the correct shade.
Perform the manufacturer’s prescribed pre-use function test. A test button previews filter operation; it does not replace checking suitability for your process. Wear safety glasses with side protection underneath. These inspection and operating requirements are covered in the Lincoln and Miller manuals linked above.
Stop The Arc Before Troubleshooting Flicker
If the filter fails to darken or flickers during welding, stop the arc before investigating. Follow this sequence rather than continuing to weld while adjusting the helmet:
- Check mode and power. Rule out grind mode, a low battery, incorrect battery installation or an unmet charging requirement.
- Inspect covers and sensors. Dirt, spatter and damaged covers can interfere with visibility or detection.
- Check the sensor sightline. Your arm, torch or joint may obscure the arc. Reposition without compromising welding technique or protection.
- Check sensitivity and process limits. Follow the manual’s adjustment procedure in the actual lighting conditions. Confirm that the low-current rating covers the work.
- Check temperature limits. A helmet stored in extreme cold may need to warm to ambient temperature before use, as specified in its manual.
These checks follow Lincoln’s troubleshooting guidance and Miller’s operating and temperature instructions. If reliable operation cannot be restored, remove the helmet from service rather than welding through intermittent failures.
If the lens stays dark after welding, distinguish a normal delay from continued triggering by surrounding light. If the view is consistently poor, inspect dirty or pitted cover lenses before lowering the shade. Both manufacturers address these symptoms in their troubleshooting instructions; neither symptom is a reason to bypass the required protection.