
When a Passive Welding Helmet Is the Better Choice
Choose a passive welding helmet by shade, compliance, lens size, coverage and fit—and know when auto-darkening is more practical.
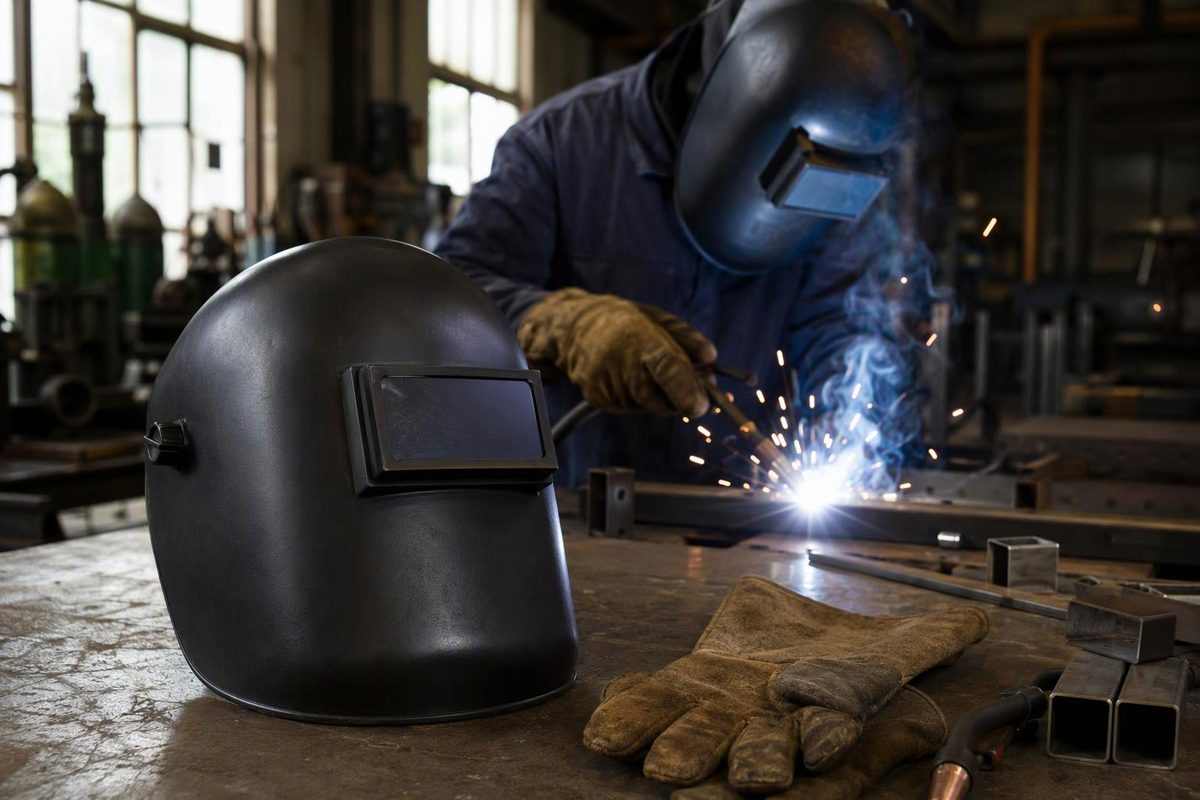
A passive welding helmet uses a fixed-shade filter lens. It does not detect the arc or switch between light and dark states. Before striking an arc, the welder lowers the helmet or shaded filter; after the arc stops, the view remains just as dark.
That simple arrangement works well when the process and current stay within one suitable shade range. It is less convenient for repeated tacks, changing processes or work where positioning the electrode through a dark filter is difficult.
Passive versus auto-darkening
| Decision point | Passive helmet | Auto-darkening helmet |
|---|---|---|
| Filter state | Always at its marked shade | Light state until sensors trigger the selected dark shade |
| Power and controls | No filter batteries, arc sensors, sensitivity or delay controls | Model-dependent batteries, sensors and settings |
| Before the arc | Work is normally positioned before lowering the filter | Joint remains visible through the light state |
| Different amperages or processes | Change the fixed lens if another shade is needed | Variable-shade models can cover a documented range |
| Likely best fit | Repetitive work at a stable process and current; simple backup hood | Frequent tacking, awkward starts and mixed-process work |
“Passive” does not mean inadequate protection. It describes how the filter operates, not whether the complete helmet is suitable. For example, 3M lists passive filters in shades 10 through 13 for its G5-03 platform, while Lincoln lists compatible 2 × 4.25-inch fixed-shade lenses in shades 9 through 11. These examples show why the buyer must verify the exact shade, lens, shell and assembled configuration, rather than assuming all passive parts are interchangeable (3M G5-03 parts and maintenance guide; Lincoln fixed-shade lens specifications).
An auto-darkening helmet can improve setup visibility, but it introduces model-specific limits such as dark-shade range, sensor coverage, operating temperature and battery requirements. Compare those details in the Miller Digital Elite helmet checks if variable shade is the likely alternative.
Select the shade from the process and arc current
Do not buy shade 10 merely because it is common. In the United States, OSHA’s general-industry table gives minimum protective shades by operation and, for arc processes, current. Its practical rule is to begin too dark, then move lighter until the weld zone is visible without going below the listed minimum (29 CFR 1910.133).
| Process and current | OSHA general-industry minimum shade |
|---|---|
| SMAW, under 60 A | 7 |
| SMAW, 60–160 A | 8 |
| SMAW, 160–250 A | 10 |
| SMAW, 250–550 A | 11 |
| GMAW or FCAW, under 60 A | 7 |
| GMAW or FCAW, 60–500 A | 10 |
| GTAW, under 150 A | 8 |
| GTAW, 150–500 A | 10 |
| Air-carbon arc cutting, under 500 A | 10 |
| Air-carbon arc cutting, 500–1,000 A | 11 |
These are regulatory minima, not universal comfort settings or permission to disregard an employer’s hazard assessment, equipment instructions or site rules. OSHA construction requirements use a separate table organized partly by electrode diameter rather than arc current, so do not transfer the general-industry table to a construction job without checking the applicable rule (29 CFR 1926.102).
A fixed shade that is unnecessarily dark can hide the joint and puddle. A shade below the applicable minimum does not satisfy that minimum. If the day’s work moves between low-current TIG, higher-current wire welding and gouging, swapping passive lenses—or keeping several hoods—may be less practical than using a compliant variable-shade helmet.
Buying checks that matter
1. Documented compliance
For U.S. occupational use, look for the manufacturer’s compliance statement and required markings for the exact helmet and filter assembly—not merely “welding lens” in a marketplace listing. ANSI/ISEA Z87.1 covers requirements, testing, permanent marking, selection, care and use for eye and face protectors, including welding helmets (NIOSH PPE-Info summary of ANSI/ISEA Z87.1-2020).
A claim for one component does not establish that an improvised combination of shell, filter, cover plates and retainer is compliant. Use approved replacement parts and follow the helmet instructions.
2. Lens format and replacement supply
Common formats include narrow 2 × 4.25-inch filters and larger viewing windows, but compatibility is model-specific. Confirm:
- filter dimensions and shade marking;
- inner and outer cover-plate requirements;
- whether the retainer holds every layer securely;
- local availability of replacement cover plates and filters; and
- whether the helmet supports a magnifying lens without modification.
A larger window improves the field of view, but it does not compensate for a scratched, pitted or poorly retained optical stack.
3. Flip-front design
A flip-front lets the shaded filter lift while a clear plate remains in front, making setup or inspection easier. It does not automatically create an approved grinding mode. Lincoln, for example, lists one passive helmet with a flip-up lens while explicitly listing “Grind Mode: No” (Lincoln K2800-1 passive helmet specifications). Verify what the helmet manufacturer permits and whether the clear assembly provides the impact protection required for the task.
Welding goggles also have narrower use limits; see when welding goggles suit the job and when a helmet does.
4. Coverage and fit
Check chin, ear, neck and side coverage in the actual welding position. The shell should stay down when required, lift without excessive force and clear any approved hard-hat adapter or respirator. Try it while looking down, reaching overhead and turning into the expected joint position. Balance and suspension fit can matter more than catalog weight alone.
5. Condition and maintainability
Before use, inspect the shell, headgear, retainers, filter and cover plates. Look for cracks, loose hardware, incorrect assembly and light leaks. Replace damaged parts instead of taping over structural or optical defects.
Follow the instructions for the exact model. As one manufacturer example, 3M’s G5-03 maintenance guide calls for replacing damaged helmet parts and replacing protection plates when pitted or scratched. Its G5-03E instructions warn that cracked, pitted or scratched filter glass or plates can reduce vision and seriously impair protection (3M G5-03 care guide; 3M G5-03E user instructions).
Use the specified cleaning method. Solvents, unapproved paint and improvised modifications can damage materials or conceal defects.
A helmet is not the whole eye-protection system
A welding helmet filters arc radiation and protects the face, but it may not provide all the primary eye protection needed when particles can enter around it. OSHA’s shipyard welding guidance says side protection is required where flying objects are a hazard and that workers using welding helmets in those conditions also need safety glasses with side shields or goggles (OSHA eye protection during welding fact sheet).
Wear the eye protection required by the task and applicable workplace rules, especially when chipping, wire brushing or grinding creates flying particles. Do not watch an arc with the hood raised while relying on clear safety glasses. Arc-radiation injury is different from an electrical arc-flash event, as explained in the two meanings of welding arc flash.
Practical verdict
Choose a passive welding helmet when you can identify the required fixed shade, the work does not demand constant clear-state positioning, and the exact assembly has documented compliance, adequate coverage and readily available replacement parts. It can be a straightforward primary hood for stable work or a useful backup without an auto-darkening filter’s switching controls.
Choose auto-darkening when frequent starts, awkward joint access or changing processes make a permanently dark view an obstacle. In either case, shade selection, impact protection, fit and condition determine suitability—not the passive or auto-darkening label alone.