
Choosing a MIG, TIG and Stick Welder: Capabilities That Matter
Choose a multiprocess welder by AC/DC TIG capability, input power, duty cycle, electrode support and the accessories needed for your jobs.
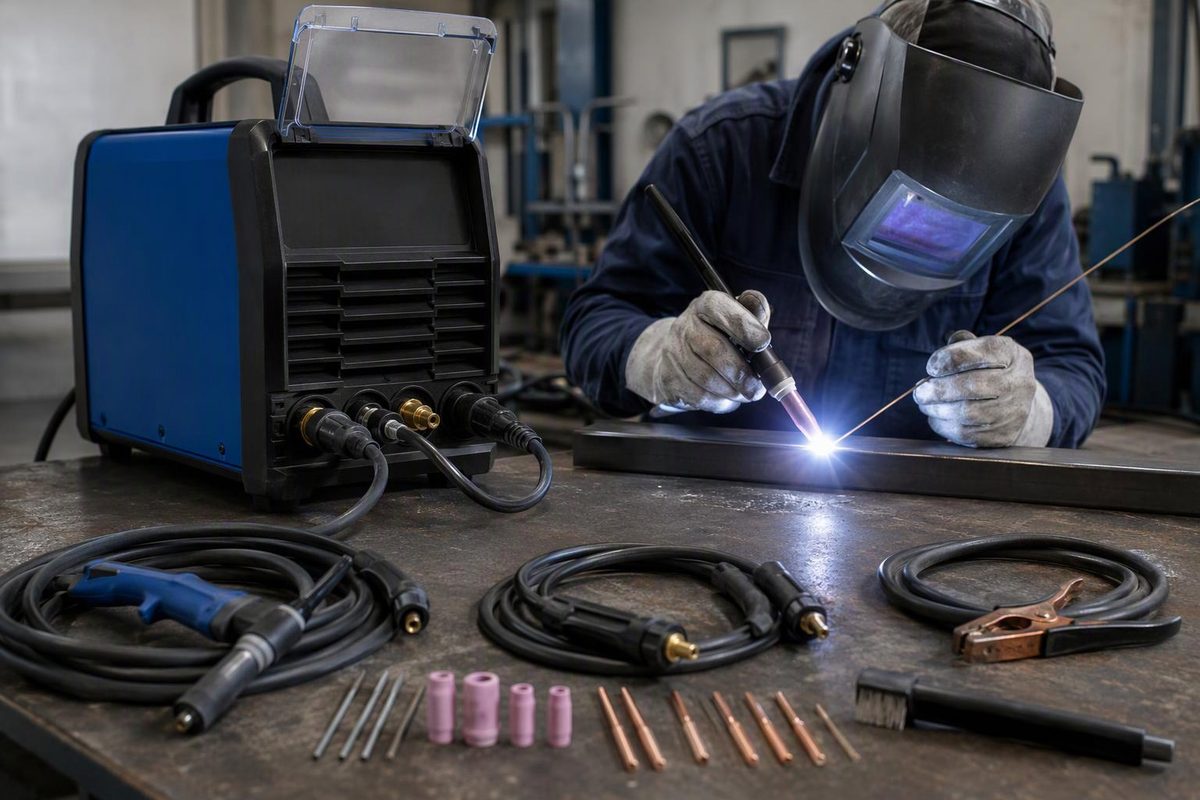
A MIG, TIG and stick welder is usually sold as a multiprocess welder: one power source supports wire-feed welding, tungsten-electrode welding and covered-electrode welding. It can make sense for a shop handling varied work—but the three process names do not tell you how fully each process is supported.
The first buying check is whether TIG output is DC only or AC/DC. A machine advertised for aluminum may weld it by MIG while lacking AC TIG. Then check output on your available input voltage, duty cycle, electrode compatibility and the equipment included in the exact package.
Choose around the work you do most
Select the main process first; treat the others as capabilities that must meet specific jobs, not simply as extra menu options.
| Main work | Capability to prioritize | Important limit |
|---|---|---|
| Indoor mild-steel fabrication with repeated welds | MIG feeding system, usable output and duty cycle | Peak amperage alone does not establish production capacity |
| Steel or stainless work needing precise puddle and filler control | DC TIG, suitable low-current range and compatible remote control | “TIG capable” does not guarantee a pedal, gas valve or noncontact start |
| Routine aluminum TIG work | Explicit AC TIG output, adequate current and AC controls | Aluminum MIG capability is not evidence of AC TIG capability |
| Outdoor steel repairs | Stick electrode support or compatible self-shielded flux-cored wire | Gas-shielded MIG and TIG need protection from drafts |
MIG continuously feeds consumable wire; TIG uses a nonconsumable tungsten electrode, with filler added separately when needed. TIG offers greater operator control but is generally slower. Stick and self-shielded flux-core are practical outdoor choices because they do not depend on an external shielding-gas supply. These process differences are explained in Miller’s welder-selection guide.
An outdoor-suitable process does not make the power source weatherproof. Check its environmental limits: for example, the Multimatic 220 manual specifies indoor use, not outdoor operation or storage.
If nearly all your work is MIG, compare a dedicated MIG machine before paying for additional functions. If TIG is the main task, evaluate the multiprocess machine as critically as a dedicated TIG welder.
Read the TIG specification beyond the checkbox
DC versus AC/DC
DC TIG is a useful capability for steel and stainless steel. For routine aluminum TIG, look for explicit AC TIG support. During the electrode-positive portion of the AC cycle, the arc helps remove surface oxide; the electrode-negative portion supplies heat to melt the base metal. AC balance adjusts that relationship, but does not replace cleaning before welding. Miller’s AC-balance explanation describes the mechanism and its effect on tungsten heating and weld-pool control.
Also separate AC input power from AC welding output. A DC-only TIG machine can plug into an AC electrical supply; that does not make it an AC TIG welder.
Starting and current control
Check these features individually:
- Lift TIG: Touch the tungsten to the work and lift it to initiate the arc.
- High-frequency start: Initiates the arc without touching the tungsten to the work.
- Remote amperage control: Verify the specified pedal or hand control, connector and operating modes.
- Gas control: Determine whether gas is controlled through the machine or a manually valved torch, and what preflow/postflow control is available.
- Low-current capability: Check the TIG range, not the machine’s overall amperage range, especially for thin material.
Lift start and high-frequency start are distinct systems, as Weldclass’s ignition guide explains. Neither a TIG label nor a torch connection proves pedal compatibility. Our TIG foot-pedal guide covers that separate buying check.
Compare rated output—not the model number
A dual-voltage machine does not necessarily deliver the same output on both supplies. Compare MIG, TIG and stick ratings separately, at the input voltage you will actually use.
For example, ESAB’s published US specifications for the Rebel EMP 215ic, as of October 11, 2026, list:
| Process | On 120 V input | On 230 V input |
|---|---|---|
| MIG | 130 A at 20% duty cycle | 235 A at 15% duty cycle |
| TIG | 130 A at 40% duty cycle | 200 A at 20% duty cycle |
| Stick | 130 A at 20% duty cycle | 180 A at 25% duty cycle |
These are model-specific ratings, not settings for your joint or a guarantee of weldable thickness.
Duty cycle is the allowed welding time within the stated test period at a specified load. On a ten-minute basis, 20% means two minutes welding and eight minutes cooling. Compare ratings at similar output and test conditions; a high percentage at low current is not equivalent to the same percentage at high current. The Multimatic 220 manual defines that ten-minute basis and warns against exceeding duty cycle.
Use the exact machine’s electrical-service instructions to verify supply, protection and connections. Do not size the circuit from welding-output amperage or assume a plug adapter increases available power. For temporary input-power cords, see our welder extension-cord guide.
What actual model specifications reveal
These examples illustrate capability differences, not a performance ranking. Manufacturer specifications are current as of October 11, 2026.
- Miller Multimatic 215 PRO: Supports MIG, stick and DC TIG. Miller’s family comparison does not list AC TIG for it, despite listing aluminum welding capacity.
- Miller Multimatic 220 AC/DC: The same comparison explicitly lists both DC TIG and AC TIG.
- ESAB Rebel EMP 215ic: ESAB identifies it as MIG/MAG, stick and DC Lift TIG, and explicitly advertises support for E6010 electrodes.
Sources: Miller’s Multimatic capability comparison and ESAB’s EMP 215ic specifications.
If E6010 is essential, require explicit manufacturer support rather than relying on “stick capable.” Likewise, require confirmation of the exact spool gun or aluminum feeding arrangement you intend to use.
Price the complete setup and verify each process
Compare the cost of a working system, not just the power source. Include the TIG torch and consumables, compatible remote control, MIG feeding parts, electrode holder, gas equipment, cylinders, filler metals and PPE. For example, Miller’s listed 215 PRO package includes a MIG gun, stick holder and regulator, but does not list a TIG torch or pedal among its included items.
Before evaluating weld settings after a process change:
- Verify mode, connections and polarity against the machine manual and consumable instructions. Turn off the machine and disconnect input power before changing connections, as the cited Multimatic manual requires.
- Check the work circuit: Clean metal-to-metal clamp contact and secure, undamaged leads come before amperage adjustments.
- Check process-specific equipment: Wire size, rolls, liner, tip and gas for MIG; tungsten, torch parts and shielding for TIG; electrode classification, size and condition for stick. Verify the shielding-gas type as well as its connection—do not carry a steel MIG gas mixture over to TIG by default.
- Make representative test welds: Match material, thickness, joint preparation and position. Automatic settings are starting references, not proof of fusion or acceptance.
The Multimatic 220 manual provides separate process-connection instructions and specifically treats default settings as reference values that users must evaluate for the application. It also requires suitable ventilation, eye and skin protection, fire precautions and safe connections. A neat bead does not establish compliance; structural or pipe work must meet the applicable procedure, qualification and inspection requirements.