
Choose a TIG Welder by Material, Power and Arc Control
Match a TIG welder to your metals, input power and duty cycle, then check polarity, shielding gas and tungsten before changing settings.
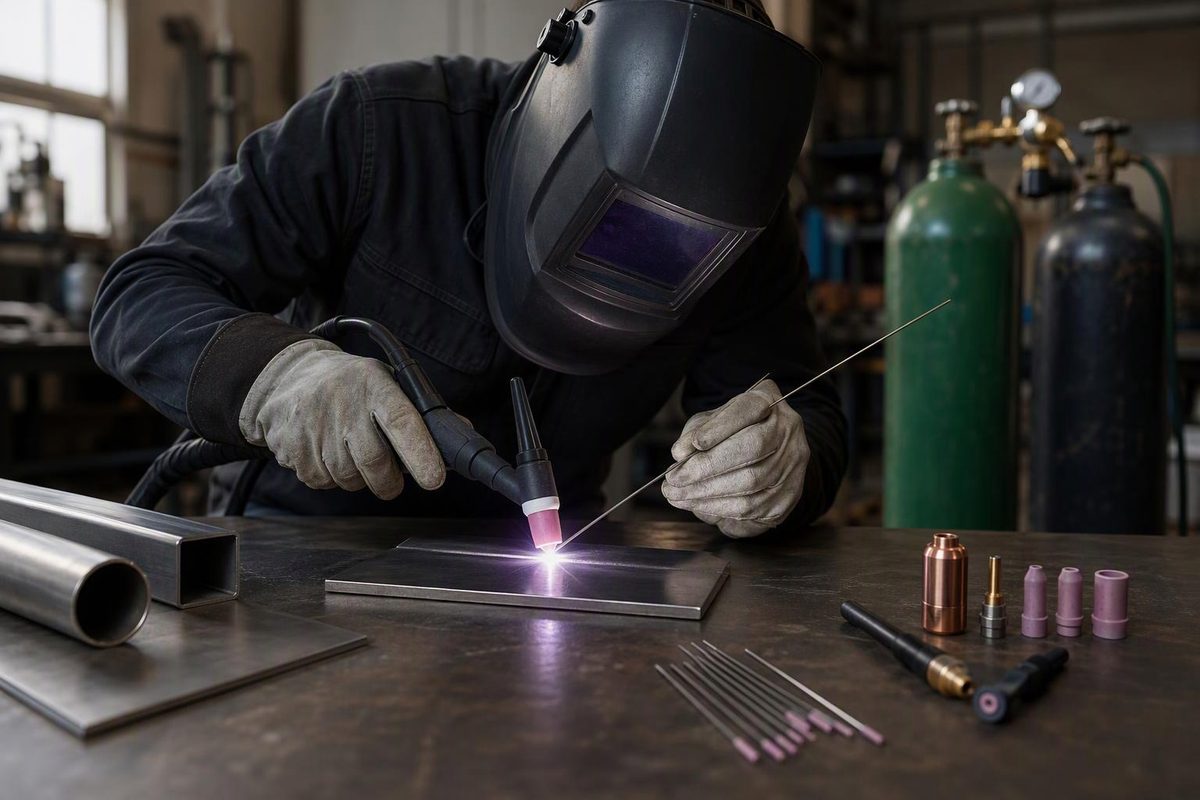
Choose a DC TIG welder for steel and stainless steel; choose an AC/DC TIG welder if conventional aluminum TIG welding is part of the job. Then compare usable output on your available electrical supply, duty cycle at the current you need, and control at the low end—not just the maximum amperage on the box. Miller’s TIG selection guide identifies material, thickness and input power as the starting points.
What a TIG welder actually does
TIG, formally gas tungsten arc welding (GTAW), uses a constant-current power source and a nonconsumable tungsten electrode to establish the arc. Shielding gas protects the electrode and molten metal. When filler is required, the operator adds it separately rather than feeding it through the torch like MIG wire. Some suitable joints can be welded without filler, but that is a joint-and-procedure decision—not a general shortcut. Miller’s process overview explains these distinctions.
The practical benefit is independent control of current and filler addition. The trade-off is slower welding and more coordination than a wire-fed process. For long production seams or exposed outdoor repairs, confirm that TIG is the right process before buying equipment; our TIG versus stick comparison covers the control-versus-portability decision.
Match the machine to the work
| Main work | Capability to prioritize | What to verify before buying |
|---|---|---|
| Mild steel and stainless fabrication | DC TIG with DC electrode negative (DCEN) | Starting method, remote-current support and usable output |
| Aluminum fabrication | AC/DC TIG | Explicit AC TIG capability, balance control and AC output rating |
| Thin sheet or small, heat-sensitive parts | Stable low-current operation | Minimum current, start behavior and controllable finishing current |
| Thick sections or repeated long welds | Adequate sustained output | TIG duty cycle at working current, torch rating and cooling requirements |
| Mobile work | Suitable input power and manageable system size | Weight of the complete setup, not only the power source |
These priorities build on Miller’s material and thickness guidance. A “multiprocess” label alone does not establish which TIG functions are available: inspect the exact model’s specifications and manual.
Why aluminum changes the purchase
Aluminum’s oxide layer melts at a much higher temperature than the underlying metal and can interfere with fusion. In AC TIG, the electrode-positive portion provides oxide-cleaning action; the electrode-negative portion heats the workpiece. Balance control changes the time spent in each portion. More cleaning also puts more heat into the tungsten, so excessive electrode-positive time can deform or erode it. Miller’s AC balance explanation describes that trade-off.
AC cleaning does not replace degreasing and oxide removal before welding. Check the exact machine manual’s definition of balance before copying a setting from another welder.
Input power and duty cycle: read them together
A machine that accepts multiple supply voltages may have different available output and duty-cycle ratings on each. Check the TIG rating for the supply you will actually use, then follow that machine’s electrical-service instructions for the circuit, conductors and protection. Do not size the installation from output amperage. As a model-specific example, the March 2023 Dynasty 210 manual, sections 4–5, lists separate ratings by input voltage and directs users to its electrical-service guide.
Duty cycle expresses allowable welding time within a stated period and at a stated load. Illustrative example: 60% at 200 A means six minutes welding and four minutes cooling within a ten-minute period under the specified conditions. It does not mean indefinite operation at 200 A. Compare machines at the same current and process, rather than comparing two isolated percentages. Miller’s duty-cycle guidance explains why the rating changes with output.
Which controls are worth paying for?
- High-frequency start: Provides noncontact arc initiation.
- Lift start: Uses a controlled touch-and-lift sequence. It is not the same as scratching the electrode across the work. It can be useful where HF starting is not permitted.
- Remote current control: A compatible pedal or hand control lets you adjust current while welding. Confirm the exact accessory and supported functions; a matching-looking connector is not enough.
- AC balance: Useful for managing the cleaning-versus-electrode-heating trade-off on aluminum.
The Dynasty 210 manual, sections 5-10 and 11, specifies remote connections and distinguishes HF and Lift-Arc starting procedures. For remote selection and setup details, use our TIG foot-pedal compatibility guide.
Pulse and adjustable AC frequency can be useful, but they should come after suitable output, reliable starts and compatible controls in the buying decision. More adjustable parameters will not compensate for contamination or poor fit-up.
Budget for a complete system
Check whether the quoted package includes the torch, work lead and clamp, remote, regulator/flowmeter, gas hose and necessary adapters. Add the cylinder arrangement, tungsten, matching torch consumables, appropriate filler, PPE and any electrical installation to the operating budget.
The torch also has its own current and duty-cycle limits. Air-cooled equipment avoids a separate cooler; water-cooled equipment adds coolant circulation and is useful for extended or higher-current welding. Select by the exact torch rating rather than assuming it can handle everything the power source delivers. CK Worldwide’s cooling comparison explains the heat-management and portability differences. Our TIG torch components guide covers parts and connection compatibility.
Set up in this order
Before energizing the system, provide suitable eye and skin protection, screens for nearby people, fire precautions and ventilation. TIG’s relatively low visible fume is not proof of safe air: argon can displace oxygen, and welding fumes and process gases remain exposure hazards. Follow the equipment safety instructions and OSHA’s welding fume and gas guidance; confined-space work requires a separate safety assessment and controls.
- Identify the base metal, joint and requirements. Select filler for the alloy and service conditions. Use the applicable welding procedure where required; a thickness-only current estimate cannot account for joint geometry, fit-up or travel speed.
- With equipment safely isolated, inspect and connect the system. Follow the manual for torch connections, work lead, remote and cooling circuit. Secure the gas cylinder upright. Ensure the work clamp has clean metal-to-metal contact as near the weld as practical.
- Select TIG mode and polarity. Conventional steel and stainless TIG use DCEN; conventional aluminum TIG uses AC. Confirm both the selected mode and physical connections.
- Prepare clean material and tungsten. Match tungsten type, diameter and tip preparation to the machine and current. For inverter equipment, do not automatically copy the balled pure-tungsten setup used with older AC machines.
These checks follow Miller’s setup guide and the Dynasty manual’s installation and inverter tungsten guidance.
- Verify shielding at the torch. Pure argon is a common starting gas. Miller gives 15–20 CFH, approximately 7–9.4 L/min, as a typical range—not a universal setting. Cup size, electrode extension and drafts affect coverage; excessive flow can create turbulence and draw air into the shield. See Miller’s common TIG problems and shielding-gas guidance.
- Test on matching scrap. Start from the manual or procedure’s parameters and change one variable at a time. Finish by tapering current and adding filler as needed to avoid an unfilled crater; keep the torch positioned over the weld end during post-flow. Miller’s crater guidance and post-flow guidance explain these finishing steps.
Diagnose setup faults before changing amperage
| Symptom | First checks |
|---|---|
| Arc will not start | Correct start mode, remote/output enable, work connection, cables and gas at the torch |
| Tungsten burns back rapidly | DC polarity, shielding, tungsten diameter; on AC, excessive electrode-positive time |
| Wandering or unstable arc | Contaminated or poorly prepared tungsten, inconsistent arc length and shielding problems |
| Porosity or dirty bead | Base/filler cleanliness, correct gas, leaks, drafts and excessive or inadequate flow |
| Bead forms but root fusion is poor | Joint access, fit-up, arc placement and length, travel speed, then current |
These first checks draw on Miller’s TIG troubleshooting guide, its common weld-problem guidance, and the Dynasty manual’s troubleshooting table, section 7-5. Stop and reprepare contaminated tungsten rather than trying to tune around it. A smooth bead does not establish internal fusion or certify a weld; acceptance depends on the job’s procedure and inspection requirements.