
Set Stick Amperage by Rod, Size, and Current
Compare published settings for common mild-steel rods, verify supported current, and correct arc problems without treating a chart as a qualified procedure.
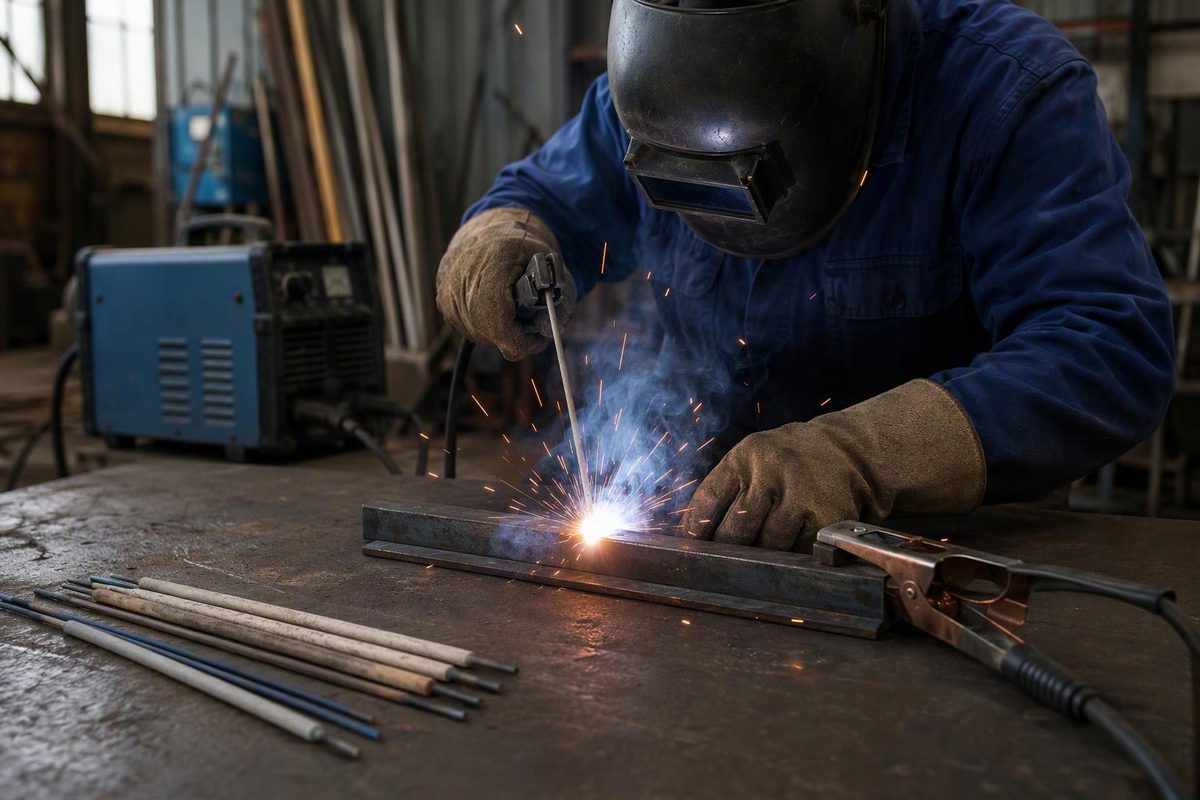
A stick welding setting chart gives you a starting amperage, not a welding procedure. First select the electrode classification for the base metal, joint, position, and service requirements. Then match the exact product’s diameter and approved current type to its manufacturer’s range; for the four Lincoln Electric products below, 1/8-inch settings span 65–120 A for E6011 on AC, 110–140 A for E6013 on AC, and 90–160 A for E7018 on DCEP.
Pick the rod diameter and electrode product; the published starting range appears beside the controls.
Published Amperage Range
Manufacturer range
90–160 A
Excalibur 7018 MR E7018 · 1/8 in. (3.2 mm) · DCEP
Use this range only for the named product and current shown. A WPS, project requirement, or current package data overrides it.
View All Published Settings
| Rod | 3/32 | 1/8 | 5/32 |
|---|---|---|---|
| E6010 DCEP | 40–80 | 70–130 | 90–165 |
| E6011 AC | 40–90 | 65–120 | 115–150 |
| E6013 AC | 75–115 | 110–140 | 160–200 |
| E7018 DCEP | 70–110 | 90–160 | 130–210 |
Source: Lincoln Electric product tables for Fleetweld 5P, Fleetweld 180, Fleetweld 37, and Excalibur 7018 MR. Values are amperes.
Amperage Settings for Common Mild-Steel Electrodes
These are manufacturer-published settings for four specific Lincoln Electric products. They are not universal limits for every electrode carrying the same AWS classification.
| Diameter | E6010, DCEP | E6011, AC | E6013, AC |
|---|---|---|---|
| 3/32 in. (2.4 mm) | 40–80 A | 40–90 A | 75–115 A |
| 1/8 in. (3.2 mm) | 70–130 A | 65–120 A | 110–140 A |
| 5/32 in. (4.0 mm) | 90–165 A | 115–150 A | 160–200 A |
| Diameter | E7018, DCEP |
|---|---|
| 3/32 in. (2.4 mm) | 70–110 A |
| 1/8 in. (3.2 mm) | 90–160 A |
| 5/32 in. (4.0 mm) | 130–210 A |
Chart basis: Fleetweld 5P E6010, Fleetweld 180 E6011, Fleetweld 37 E6013, and Excalibur 7018 MR E7018. Their product tables also list alternative currents where supported: Fleetweld 5P has product-specific DCEN ranges; Fleetweld 180 and Fleetweld 37 list DC positive or negative; and Excalibur 7018 MR lists AC ranges. Check the package or current datasheet for your exact product rather than transferring these figures to another brand or specialty electrode. See the manufacturer data for Fleetweld 5P E6010, Fleetweld 180 E6011, Fleetweld 37 E6013, and Excalibur 7018 MR E7018.
DCEP means direct-current electrode positive, also shown as DC+ or reverse polarity. DCEN means electrode negative, also shown as DC− or straight polarity. Do not assume every product in an electrode classification supports every polarity.
For an AC-only machine, verify that the exact rod is approved for AC. E6011 and many E6013 products are common candidates. Some E7018 products run on AC, but a formulation intended for AC may work better with a transformer welder that has limited open-circuit voltage. Lincoln 7018 AC, for example, is specified for AC and low-OCV operation and has its own amperage table.
Choose the Rod Before the Amperage
An AWS mild-steel electrode designation conveys more than strength. Its next-to-last digit identifies permitted welding positions, while the final two digits taken together identify coating and usable-current characteristics. Lincoln Electric’s AWS classification guide describes E6010 as a DC electrode with a penetrating arc, E6011 as an AC-capable all-position option, E6013 as a softer-running electrode for clean sheet metal, and E7018 as a low-hydrogen electrode.
Those differences explain why diameter alone cannot determine amperage. At 1/8 inch, the example E6011 AC range begins at 65 A, while the example E6013 AC range begins at 110 A. The familiar shortcut of roughly one amp per thousandth of electrode diameter may put a setting near a workable region, but the exact product range is the better reference.
Confirm that the classification, diameter, current, and position are permitted by the drawing, welding procedure specification (WPS), code, or repair instruction. For more selection context, see Stick Welding Rods Must Match Metal and Machine. Low-hydrogen handling is addressed separately in E7018 Welding Rod: Amperage, Polarity, Uses & Storage.
Set the Machine in the Right Order
- Identify the rod completely. Read the classification, diameter, brand, and product name from the package. Do not identify a loose rod by flux color alone.
- Set the specified current and polarity. Confirm the electrode-holder and work-lead connections, especially after another process has been used on a multiprocess machine.
- Confirm that the machine can run the rod. Its output range, duty cycle, and AC/DC capability must cover the selected setting. Check the manual for restrictions on running cellulosic electrodes such as E6010.
- Start within the product range. For a flat-position practice coupon, a setting near the middle of the range is generally more useful than beginning at either limit. A 1/8-inch Excalibur 7018 MR on DCEP, for example, could start around 125 A within its published 90–160 A range.
- Test representative material. Match the actual base-metal type, thickness, joint preparation, position, and fit-up. Adjust in 5–10 A steps while holding arc length and travel speed reasonably constant. Miller’s stick-welding technique guide recommends that increment and gives about 15% less heat for overhead welding than for flat welding as a general guide—not as a replacement for a qualified procedure.
Check the current path before tuning around an electrical problem. Dirt, loose connections, damaged crimps, undersized leads, and poor work-clamp contact add resistance and voltage drop. Miller lists a stumbling arc and hot connections among the warning signs. See A Welding Ground Is More Than Just the Clamp for the full return-path check.
Diagnose the Arc Before Changing Amperage
Change one variable at a time. Shortening the arc while increasing current can hide which correction worked.
- The rod sticks repeatedly, or the arc stutters and dies: Current may be low, but first check polarity, arc-start technique, and the work connection.
- The puddle is excessively fluid, the arc is unusually loud, or the flux chars well before the rod is consumed: Current may be high.
- There is heavy spatter, porosity tendency, or undercut with apparently adequate current: Shorten the arc. Miller recommends beginning with an arc no longer than the electrode core diameter; a long arc raises voltage and can produce spatter, undercut, and porosity.
- The bead is wide and convex with poor edge fusion: Travel may be too slow rather than current too low. Excessively slow travel directs heat into the puddle instead of the leading edge.
- The bead is narrow and highly crowned, with underfill or undercut: Travel may be too fast. Keep the arc in the leading portion of the puddle rather than outrunning it.
Electrode angle, manipulation, and joint geometry also change what the puddle does. Do not raise amperage solely to flatten a bead if incorrect angle or excessive weaving is the actual cause.
The Chart Cannot Establish Weld Acceptance
An amperage inside the published range does not prove fusion, penetration, mechanical properties, or code acceptance. The Lincoln Stick Electrode Welding Guide says actual results vary with factors including weld procedure, plate chemistry and temperature, weldment design, and fabrication method. It calls for qualification testing or another appropriate means of confirming that the consumable and procedure suit the application.
For production or critical repair, the applicable WPS and project requirements override this chart. Inspect the finished weld to the specified acceptance criteria and perform any required testing; appearance alone cannot certify it. Good vs Bad Welding: Appearance vs Acceptance explains that distinction.
Wear suitable eye, face, hand, and body protection, and follow the welder manual and electrode SDS. Ventilation has to address the process, consumable, base metal, coatings, and work location. OSHA’s welding-fume guidance notes that outdoor or open-space welding does not by itself guarantee adequate ventilation. Stop rather than troubleshoot live settings around damaged leads, wet conditions, uncontrolled fire hazards, or unknown coatings.